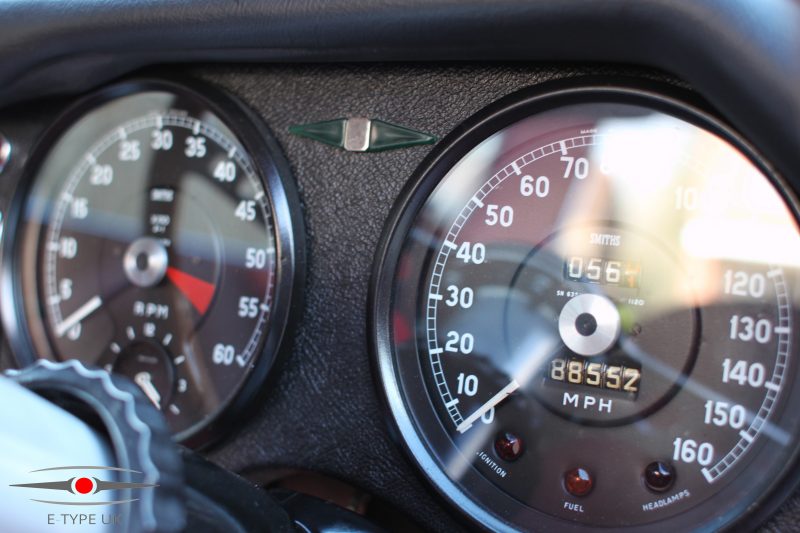
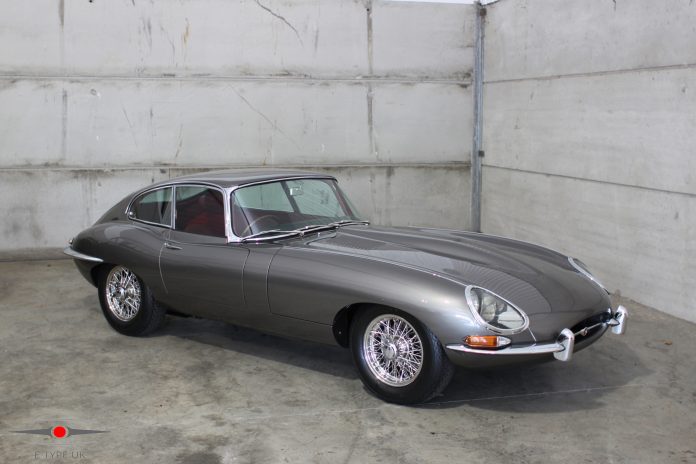
Restoring a Jaguar E-Type is often a dream project for many classic car enthusiasts, with the E-Type typically considered to be one of the best-looking cars ever made. There have been a large number of barn find E-Types and plenty are left in a state of disrepair, despite their high value in good condition. Here, we take a look at the restoration of this Series 1 3.8L Jaguar E-Type and the process involved in turning the car into the ultimate driving experience.
Where was the car found?
The E-Type was originally shipped to Jaguar Cars in New York and was in storage for several years. When the car arrived it was just a shell that was painted, so the vehicle had to undergo the entire restoration process before it was fit to be driven on the road. It was originally supplied in Opalescent Dark Blue but the vehicle owner decided not to stay with the original colour, so it was changed to Opalescent Gunmetal Grey.
What needed to be done?
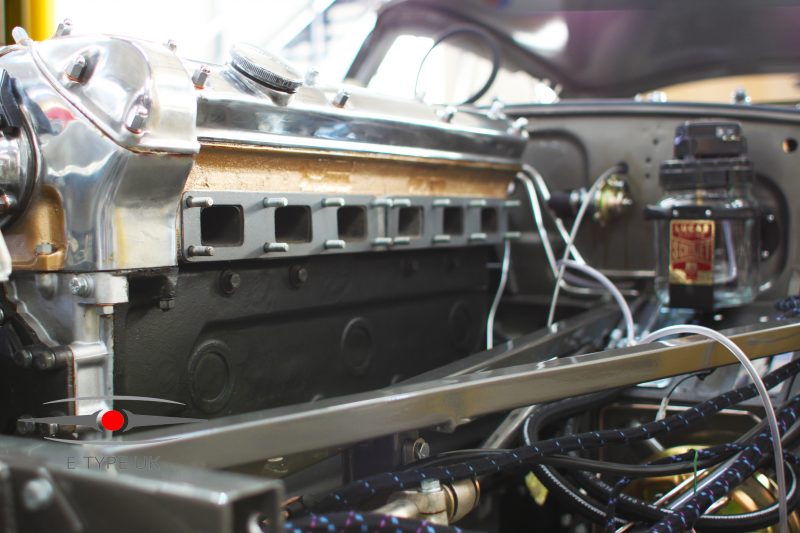
As this restoration started with just the shell of the car, there was a lot of work that needed to be done to get it up to specifications. One of the biggest questions faced when restoring a car is whether to be true to the original specifications or upgrade the car so that is better suited to modern driving. The restoration on this E-Type added a number of upgrades to provide the ultimate driving experience on this car. A number of upgrades were applied to the car which included;
- 2 Braking System
- 5 Speed Gearbox
- Aluminium Header Tank
- Fast Road Engine
- Tinted, Heated and Aerial Windscreen Glass
- Aluminium Radiator
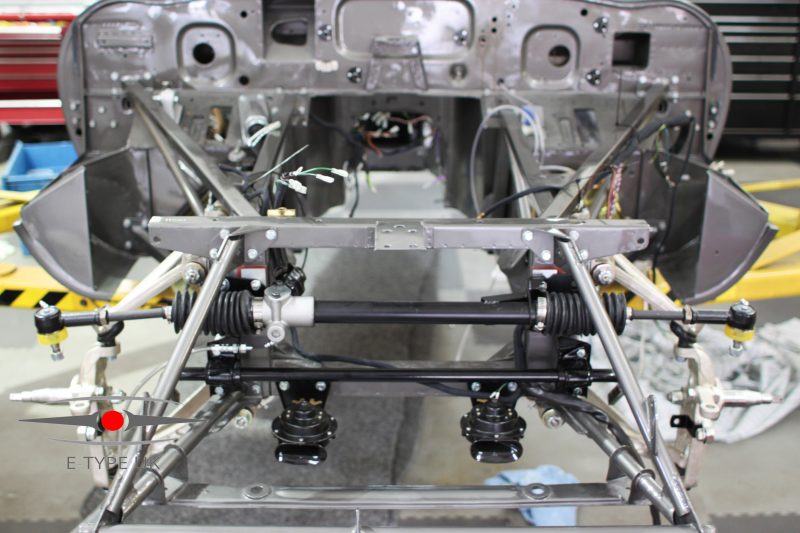
But before the upgrades were even started, the car still had a lot of restoration work to be done. The build started with the front suspension and brakes, with the steering fitted too. The braking system was fitted. This is where the car started to take shape as the brake lines were fitted, along with the wiring looms and also building up the bulkhead. The engine and gearbox were then mated before the bodywork could be lowered onto the car inch by inch.
Finishing Touches
With the car coming together nicely, it was time to put the finishing touches on the restoration. There was a lot of chrome being attached as the exhaust comes together and the front bumpers and grille bar were attached to the car. This took some precision placing and was followed by the rear bumpers and lights. There was also final detailing on the interior of the car, with black piping added to the Oxblood Red seats on this restoration.
Once all of this was done, the car was finally ready to drive, but the restoration process is still not over. The car still needs to undergo a 500 mile drive to make sure any issues are addressed. This includes adjustments to suspension and even things like speaker sound quality. E-Type UK undertook this restoration process and has a great deal of experience when it comes to restoring the iconic E-Type.
