


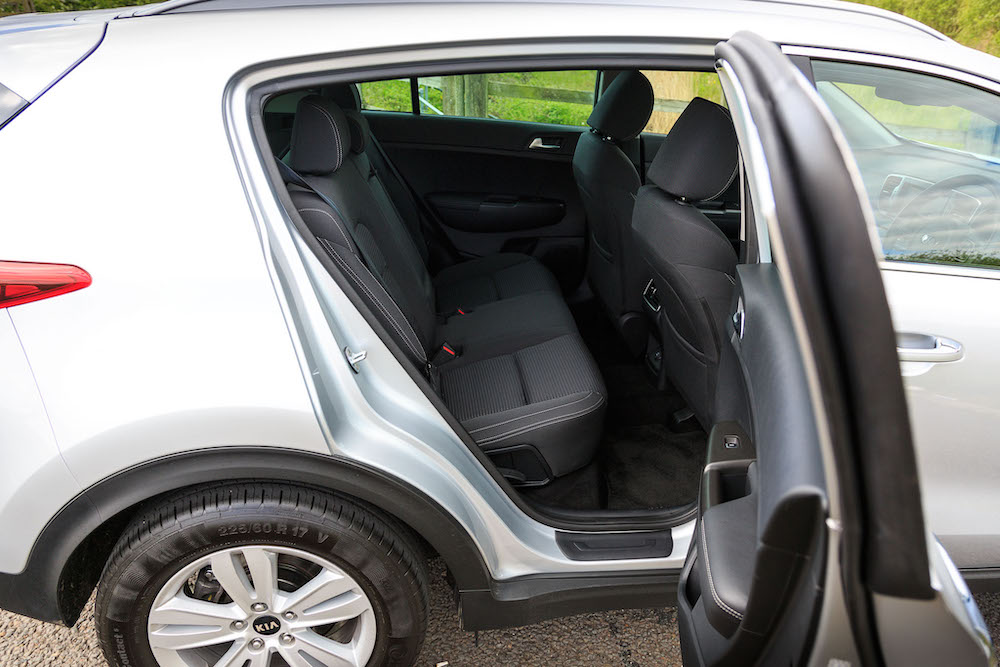
Leather seats add comfort and luxury to a car’s interior, but they also require proper care. Over time, daily use can lead to cracks, scratches, scuffs, or even tears in the leather. Sun exposure, spills, and simple wear and tear all contribute to the problem. Once leather begins to show damage, the interior quickly looks older than it is — and neglecting repairs can shorten the lifespan of your seats.
The good news is that repairing auto leather seats doesn’t always require a professional upholsterer. With the right tools, materials, and patience, you can restore your seats and extend their life at home. In this guide, we’ll cover common types of damage, step-by-step repair instructions, and tips for keeping your leather in excellent condition. If the damage is too extensive, visiting a trusted auto repair shop is often the best solution.
Common Types of Leather Seat Damage
Leather is durable, but it’s not indestructible. The most common problems drivers face include:
- Surface scratches and scuffs caused by keys, pets, or clothing with zippers.
- Cracks from sun damage or lack of conditioning.
- Small holes or tears from sharp objects or general wear.
- Discoloration or fading from UV rays or spills.
Identifying the type of damage will help you choose the right repair method. Small scratches can be buffed and recolored, while deeper cracks or tears require filler or patching.
Tools and Materials You’ll Need
Before beginning, gather your supplies. For most leather seat repairs, you’ll need:
- Leather cleaner and conditioner
- Microfiber cloths and a soft-bristle brush
- Sandpaper (400 to 600 grit)
- Leather repair kit (usually includes filler, adhesive, color compounds, and applicators)
- Matching leather dye or colorant
- Small scissors or razor blade (for trimming frayed edges)
- Heat gun or hair dryer (for curing filler and dye)
Leather repair kits are widely available online and in auto parts stores, and they typically provide everything you need for small to medium repairs.
Step-by-Step Guide to Repairing Leather Seats
Step 1: Clean the Area Thoroughly
Start by cleaning the damaged area with a dedicated leather cleaner. Use a soft brush or cloth to remove dirt, oils, and residue. A clean surface ensures that filler, adhesive, and dye will bond properly. Let the seat dry completely before moving to the next step.
Step 2: Smooth the Damaged Edges
If the leather is cracked, scuffed, or torn, lightly sand around the damaged area with fine-grit sandpaper. This helps smooth frayed edges and creates a surface that filler or adhesive can grip. For holes or tears, trim loose fibers with small scissors or a razor blade.
Step 3: Apply Leather Filler or Patch
For cracks and small holes, use a leather filler included in your repair kit. Apply it in thin layers with a spatula or applicator, letting each layer dry before adding the next. Use a heat gun or hair dryer to cure the filler if recommended. Sand lightly between layers for a smooth finish.
For larger tears, you may need a patch. Most repair kits include backing fabric. Place it under the tear, apply adhesive, and press the leather edges onto the fabric. Add filler over the seam to blend it with the surrounding surface.
Step 4: Apply Leather Dye or Colorant
Once the filler is smooth and dry, it’s time to restore color. Use a dye that matches your seat’s factory shade. Apply the dye in thin coats with a sponge or applicator, allowing each coat to dry before adding another. A heat gun can speed up curing and help the color bond. Blend the dye beyond the repair area so the repair seamlessly matches the rest of the seat.
Step 5: Finish with Conditioner
After the repair is fully dry, apply a high-quality leather conditioner. This restores moisture, prevents future cracking, and gives the surface a natural sheen. Conditioning regularly is one of the best ways to keep leather soft and damage-free.
Preventing Future Leather Damage
Once your seats look new again, a little care will go a long way toward keeping them that way. Regular cleaning and conditioning should be part of your routine. Aim to clean your seats once a month and condition them every two to three months.
Whenever possible, park in shaded areas or use a windshield sunshade to reduce UV exposure, which causes fading and cracking. Avoid sitting on your seats with sharp objects in your pockets, and try to keep pets on seat covers if they ride with you. Using a quality leather protectant spray can also help guard against spills and stains. If you notice bigger damage, an auto repair shop that specializes in interiors can handle repairs that go beyond what DIY kits can fix.
Frequently Asked Questions
Can I repair leather seats without a kit?
Small scratches can sometimes be buffed with a leather conditioner or a dab of petroleum jelly. However, for cracks, tears, or holes, a leather repair kit is the most effective solution because it includes filler and matching dyes.
How much does it cost to repair leather seats at home vs. professionally?
A DIY leather repair kit typically costs between $20 and $50. Professional repairs for small areas can range from $100 to $300, while reupholstering entire seats can cost $1,000 or more.
Will the repair be invisible?
With care and the right color match, repairs can be nearly invisible. However, older leather that has faded or darkened may be harder to match perfectly. Blending dye into surrounding areas helps minimize contrast.
Can I repair very large tears or worn-out leather?
Large rips or heavily worn leather usually require professional reupholstery. DIY kits work best for small to medium repairs like cracks, scratches, or minor tears.
How long will a leather seat repair last?
If done properly and maintained with regular cleaning and conditioning, a repair can last several years. Harsh sun exposure or lack of upkeep will shorten its lifespan.
Is vinyl the same as leather?
No. Many vehicles use vinyl that mimics the look of leather. Repair kits designed for leather may also work on vinyl, but it’s important to check the product instructions to ensure compatibility.
Final Thoughts
Leather seats elevate the look and feel of your car’s interior, but they require care and attention to stay in top condition. Scratches, cracks, and even small tears can be repaired at home with the right tools and a bit of patience.
By addressing damage early, you prevent it from spreading and avoid costly professional repairs. Combine that with regular maintenance — cleaning, conditioning, and protecting your seats from sun and sharp objects — and your leather will stay soft, strong, and stylish for years to come.
Whether you’re preparing your car for resale, restoring a beloved classic, or simply keeping your daily driver looking its best, repairing leather seats is a valuable skill. And if the job feels too big, your local auto repair shop can restore your seats to like-new condition.